
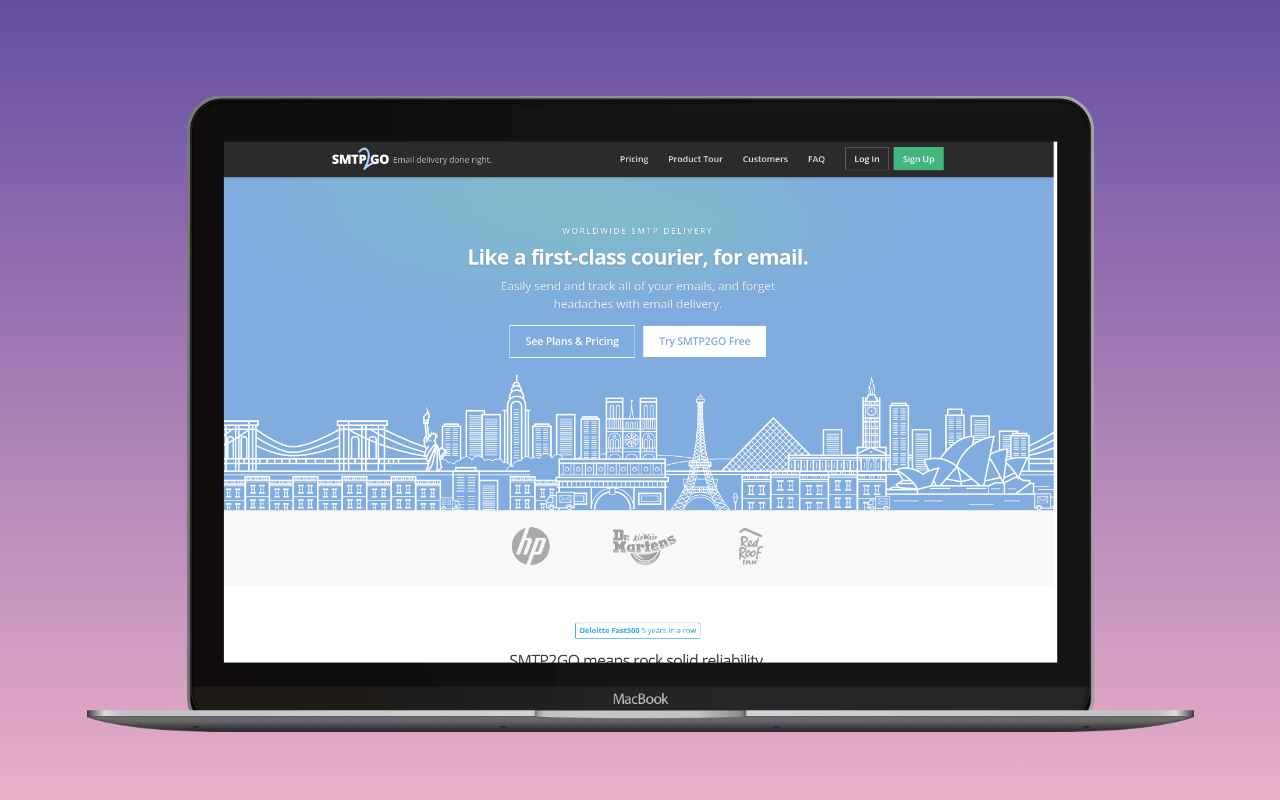
Install the official SMTP2GO plugin if the site has already decided on SMTP2GO and wants the delivery stats visible inside wp-admin. Install WP Mail SMTP with its built-in SMTP2GO mailer if the site is likely to run more than one provider, or wants plugin-side logging, fallback, and per-sender routing. Both paths reach SMTP2GO through the same HTTP API and authenticate with the same key; the choice is about what the plugin does around the send, not about how the send itself works.
For the case for or against SMTP2GO as the sending service (the 1,000-a-month free tier, the 200-per-day cap that turns into a real ceiling on busy days, the Starter plan crossover), start at the SMTP2GO review. This page is the setup walk-through. It assumes the decision to use SMTP2GO has already been made.
Which plugin to install
Four plugins reach SMTP2GO, and only two are the answer for most sites.
SMTP2GO (the official plugin) is the fastest path to the Stats tab inside wp-admin. One API key, one region setting, one from-address; no host or port to configure because the plugin talks to SMTP2GO’s HTTP API rather than SMTP. The Stats tab pulls delivery, bounce, open, and click counts from SMTP2GO’s reporting API for the current billing period, which is the one feature no generic mailer plugin ships. Pick it when SMTP2GO is the final decision and having provider-side delivery numbers visible without a second browser tab is worth the loss of plugin-side logging.
WP Mail SMTP with its SMTP2GO mailer is the recommended path for sites that want a general-purpose mailer plugin around the send. WP Mail SMTP ships a dedicated SMTP2GO option in its mailer picker, uses the same API key as the official plugin, and adds the surrounding features the official plugin deliberately omits: email logging (free), a setup wizard, and, on the Pro tier, backup connections and smart routing. Pick it when the site might change providers later, or when the operator wants the full mailer-plugin feature set from day one.
FluentSMTP does not have a dedicated SMTP2GO mailer, but its generic-SMTP mode reaches SMTP2GO on mail.smtp2go.com with SMTP credentials from the SMTP2GO dashboard, and it can also target the HTTP API with a custom connector. FluentSMTP is free and open-source with no upsell path, and its per-address routing rules are cleaner than WP Mail SMTP’s free tier. Pick it when the site runs multiple senders and needs per-address routing without paying for WP Mail SMTP Pro.
Post SMTP reaches SMTP2GO in generic-SMTP mode with the same mail.smtp2go.com credentials. Its differentiator is real-time failure notifications (Chrome push, Slack, Teams, and SMS on the paid tier); if a bounced order confirmation needs to page an operator within minutes, Post SMTP is the plugin.
For the plugin-by-plugin comparison in the general case (not SMTP2GO-specific), see best WordPress SMTP plugins.
Before touching WordPress
SMTP2GO will accept a send from an unverified domain during the demo period, but production traffic requires a verified sending domain, and receiver-side deliverability requires the DKIM signature that verification unlocks. Two things sit upstream of the WordPress install: a verified sending domain, and an API key scoped to it.
Verify the sending domain and publish DKIM and SPF
Log in to the SMTP2GO dashboard, then Sending > Sender Domains > Add Sender Domain. Enter the domain the WordPress site sends From:, meaning example.com, not mail.example.com. SMTP2GO returns the DNS records to publish: two DKIM CNAME records under s1._domainkey.<your-domain> and s2._domainkey.<your-domain> pointing at SMTP2GO’s key servers, one CNAME for the return path, and the SPF record to update.
The SPF record adds include:spfa.smtp2go.com to the domain’s existing SPF record at the apex. If the domain already has an SPF record covering Google Workspace or another sender, edit it to add the include; do not create a second SPF record at the apex, because a domain with two SPF records at the same name is a permanent SPF error under RFC 7208 regardless of what the records say. If the domain has no SPF record, publish v=spf1 include:spfa.smtp2go.com -all. The SPF merger folds include:spfa.smtp2go.com into an existing string and counts the DNS lookups against RFC 7208’s ten-lookup ceiling before you publish.
Return to the SMTP2GO dashboard and click Verify. Verification is typically minutes when propagation is fast and up to an hour on slow DNS hosts. The dashboard reports each record’s status individually; all four must show verified before SMTP2GO signs sends from that domain with DKIM.
DMARC is not SMTP2GO-specific but is required for domains sending more than 5,000 messages per day to Gmail or Yahoo under their 2024 bulk-sender rules. Publish _dmarc.example.com as TXT v=DMARC1; p=none; rua=mailto:[email protected] as a safe starting point; tighten to p=quarantine or p=reject once reports show no legitimate mail failing alignment. The bulk sender authentication checklist has the full order of operations.
Once DKIM and SPF verify in the SMTP2GO dashboard, the DNS auth checker reads how the SMTP2GO CNAMEs and the apex SPF resolve from a receiver’s perspective, which catches nameserver caches and mistyped selectors before real traffic does.
Generate an API key and pick a region
In the SMTP2GO dashboard, Sending > API Keys > Add API Key. Give the key a description that identifies the WordPress site. The permissions default to Full Access, which is what the mailer plugins need; a key scoped narrower (send-only, no stats read) will not populate the Stats tab in the official plugin. Copy the generated key; SMTP2GO displays the value once, at creation.
SMTP2GO operates regional API endpoints in the US, EU, and AU. The global endpoint (api.smtp2go.com) routes each request to the nearest region automatically, which is the default and what most WordPress sites want. Choose a region explicitly only when the site has a data-residency requirement (an EU-only policy, an AU-only contract) that pins traffic to a specific region. The choice is exposed as a settings field in the official plugin (v1.16.0 and later); older installs fall back to the global endpoint.
Installing and configuring the official SMTP2GO plugin
The plugin install is standard: Plugins > Add New > search SMTP2GO > Install > Activate. Ignore any competing mailer plugin still active on the site; SMTP2GO detects other mailers overriding wp_mail() at once and warns in the admin, because two mailers active at once is the most common cause of an SMTP2GO install appearing to do nothing.
In the SMTP2GO settings screen, the Settings tab holds four fields worth setting deliberately. Paste the SMTP2GO API key generated earlier into API Key; when constants are preferred (multi-environment deployments, credentials outside the database), set SMTP2GO_USE_CONSTANTS to true in wp-config.php and define SMTP2GO_API_KEY there instead. The WP mail config generator returns both the API key paste block and the define() block for the constants path. Leave Region on the global default unless a data-residency requirement pins traffic to US, EU, or AU. Set From Email to an address at the domain verified with SMTP2GO and check Force From Email, which stops plugins that set their own from-address (WooCommerce order emails, some form plugins) from overriding it; a From: address at an unverified domain is the single most common first-day rejection. Set From Name to the site or brand name and check Force From Name for the same reason.
Save. The plugin does not run a validate-connection check on save; the Test tab is the confirmation.
Under the Test tab, send a test message to an address you can read. The plugin round-trips the send through SMTP2GO’s HTTP API and reports the API response in the admin. A 200 response with a success payload confirms the API key, region, and sender identity are wired up correctly; verify the message actually arrived at the destination before treating the setup as done, and open the message headers to confirm Authentication-Results shows dkim=pass for s1._domainkey.<your-domain> and spf=pass for the sending IP. If either fails, the DNS records did not propagate or were entered incorrectly at the DNS host; return to the SMTP2GO dashboard’s sender domain page and re-check.
For WP Mail SMTP with the built-in SMTP2GO mailer, the equivalent settings live under WP Mail SMTP > Settings > Mailer > SMTP2GO. Paste the same API key, pick the region, set the from-address, and use Force From Email. WP Mail SMTP’s Email Test tab handles the test send. For FluentSMTP or Post SMTP over generic SMTP, the settings are Host mail.smtp2go.com, Port 2525 (or 587), Encryption STARTTLS, Authentication PLAIN or LOGIN, Username and Password from the SMTP2GO dashboard’s SMTP Users section (SMTP credentials are separate from API keys).
Sending the first test and reading the failure
The two error patterns worth naming.
Sender not verified or the API returns a domain-related error. The from-address is at a domain SMTP2GO has not verified, or the DKIM CNAMEs have not propagated. Check the SMTP2GO dashboard’s sender domain page shows all records verified for the exact domain in the from-address. [email protected] is a different domain to [email protected] under DKIM alignment rules; verify the domain the site actually sends from, not the domain the site is hosted at.
Invalid API key or a 401 from the API. The key was regenerated in the dashboard, was scoped narrower than Full Access, or belongs to a different SMTP2GO account than the one holding the verified sender domain. Regenerate a full-access key against the account that owns the sender domain and paste that one. The plugin encrypts the key at rest in the WordPress database (v1.10.0 and later), so pasting the same key twice by hand is safe.
The SMTP2GO Activity page shows every send in near-real-time with its delivery status and any bounce reason. Point it at the last hour and the test sends appear near the top; a message that shows Delivered in the activity log but has not arrived at the destination is a receiver-side delivery decision, not an SMTP2GO problem, and the message headers (Authentication-Results, Received-SPF) are where the reason lives.
SMTP2GO-specific things to know
The free tier has a hard daily cap, not just a monthly one. The free plan allows 1,000 messages per month, but the plan also enforces a 200-messages-per-day ceiling. A site that runs a Black Friday campaign, a WooCommerce sale, or a bulk password reset can hit the daily cap and see later sends rejected even with the monthly allowance still unspent. Sites with any traffic spike pattern should size the plan against the peak day, not the monthly total.
Reporting retention is short on Free and Starter. The Activity log retains 5 days on Free and 30 days on Starter. Sites that need longer retention should either mirror sends to a WordPress email log (Check & Log Email, Log Emails, or WP Mail SMTP’s own log tier) in parallel, or move to Professional for extended retention.
Region choice affects deliverability, not just latency. Sending from the EU endpoint means the outbound IPs are EU-based, which changes the sending reputation the receiver sees. A domain that has built its reputation on US IPs and then switches to the EU endpoint effectively starts over on IP reputation. For most WordPress sites the global endpoint’s automatic routing is the right default; explicit region-pinning is a decision, not a default.
The dedicated IP tier starts at Professional. SMTP2GO’s dedicated IP offering is bundled into the Professional plan ($75/month for 100,000 messages), not sold as an add-on. A site on Starter cannot buy a dedicated IP without upgrading the plan. As with any provider, a dedicated IP is worth the money only when the monthly volume clears the roughly 50,000-message threshold below which the IP has too little traffic to build its own reputation.
Windows and IIS are unsupported. SMTP2GO’s official plugin explicitly advises against Windows/IIS hosting. Sites on that stack should use FluentSMTP or WP Mail SMTP with the SMTP2GO mailer instead, both of which handle Windows PHP without issue.
When another provider fits better
If the WordPress site is already running Mailchimp for marketing and wants one bill, Mailchimp Transactional may fit the operational picture better even though it is priced higher. If the site sends fewer than 300 messages per day and can accept a slower reporting dashboard, Brevo‘s day-based free tier is the alternative shape. Above about 100,000 messages per month, Postmark, Amazon SES, and Mailgun all price per-send below SMTP2GO’s block model. The SMTP cost calculator runs the crossover math against a site’s actual monthly send volume.
Related
When you are ready to go further:
- SMTP2GO review covers the case for and against SMTP2GO as a sending service, the pricing tiers, and the DNS reference.
- SMTP2GO plugin review is the plugin-only write-up: what the official plugin does and does not ship.
- WP Mail SMTP review is the general-purpose mailer plugin, worth pairing with SMTP2GO when logging and routing matter.
- Best WordPress SMTP plugins is the general-purpose plugin comparison, not SMTP2GO-specific.
- WordPress email setup guide places SMTP2GO inside the wider WordPress email stack.