Post SMTP Mailer (by WPExperts) review
Introduction
Post SMTP Mailer is a powerful and versatile mailer plugin for WordPress that greatly enhances the email sending and management experience on your website. This plugin is not dedicated to a specific email service and can be configured to work with any SMTP server.
Features and Functionality
Post SMTP Mailer offers the standard feature set found in high-end email providers while also boasting some extraordinary features that set it apart.
At a glance
- Post SMTP – WP SMTP...
- Active Installations: 400,000+
- Last Updated: 23 Jun 2025
- Rating: from 486 ratings
- WP Directory Link: Post SMTP – WP SMTP...
- Creator: Saad Iqbal
- Version: 3.3.0
Feature set
Features of the standard version
- OAuth 2.0 support for added security
- Built-in email log and resend functionality
- Compatibility with a wide range of contact form and newsletter plugins
- Powerful configuration wizard with automated test tool
- Push notifications about email failures to: Chrome, Slack, Pushover, and Twilio SMS
Features of the Pro version
Post SMTP Mailer does not have a traditional Pro version, but it offers a range of Pro Extensions that enhance the plugin’s functionality:
- Office365 API delivery: Connect PostSMTP with Outlook and Microsoft 365 accounts for improved email deliverability.
- Amazon SES API delivery: Combine Amazon’s mail service provider with PostSMTP’s powerful SMTP mailing features.
- Zoho Mail API delivery: Connect PostSMTP with your Zoho Mail account for better email deliverability.
- Twilio Pro Extension: Receive SMS notifications and alerts for undelivered emails with your phone number.
- Better Email Logger Extension: Design email marketing campaigns and improve email deliverability.
- Mail Control Pro Extension: Control Post SMTP’s email actions like sending email alerts to authors, webmasters, and new users.
Pricing and Plans
The standard version of Post SMTP Mailer is available for free on the WordPress plugin directory. The Pro Extensions range between $30 to $100 per year, depending on the number of site licenses (from a single site to 30-site license).
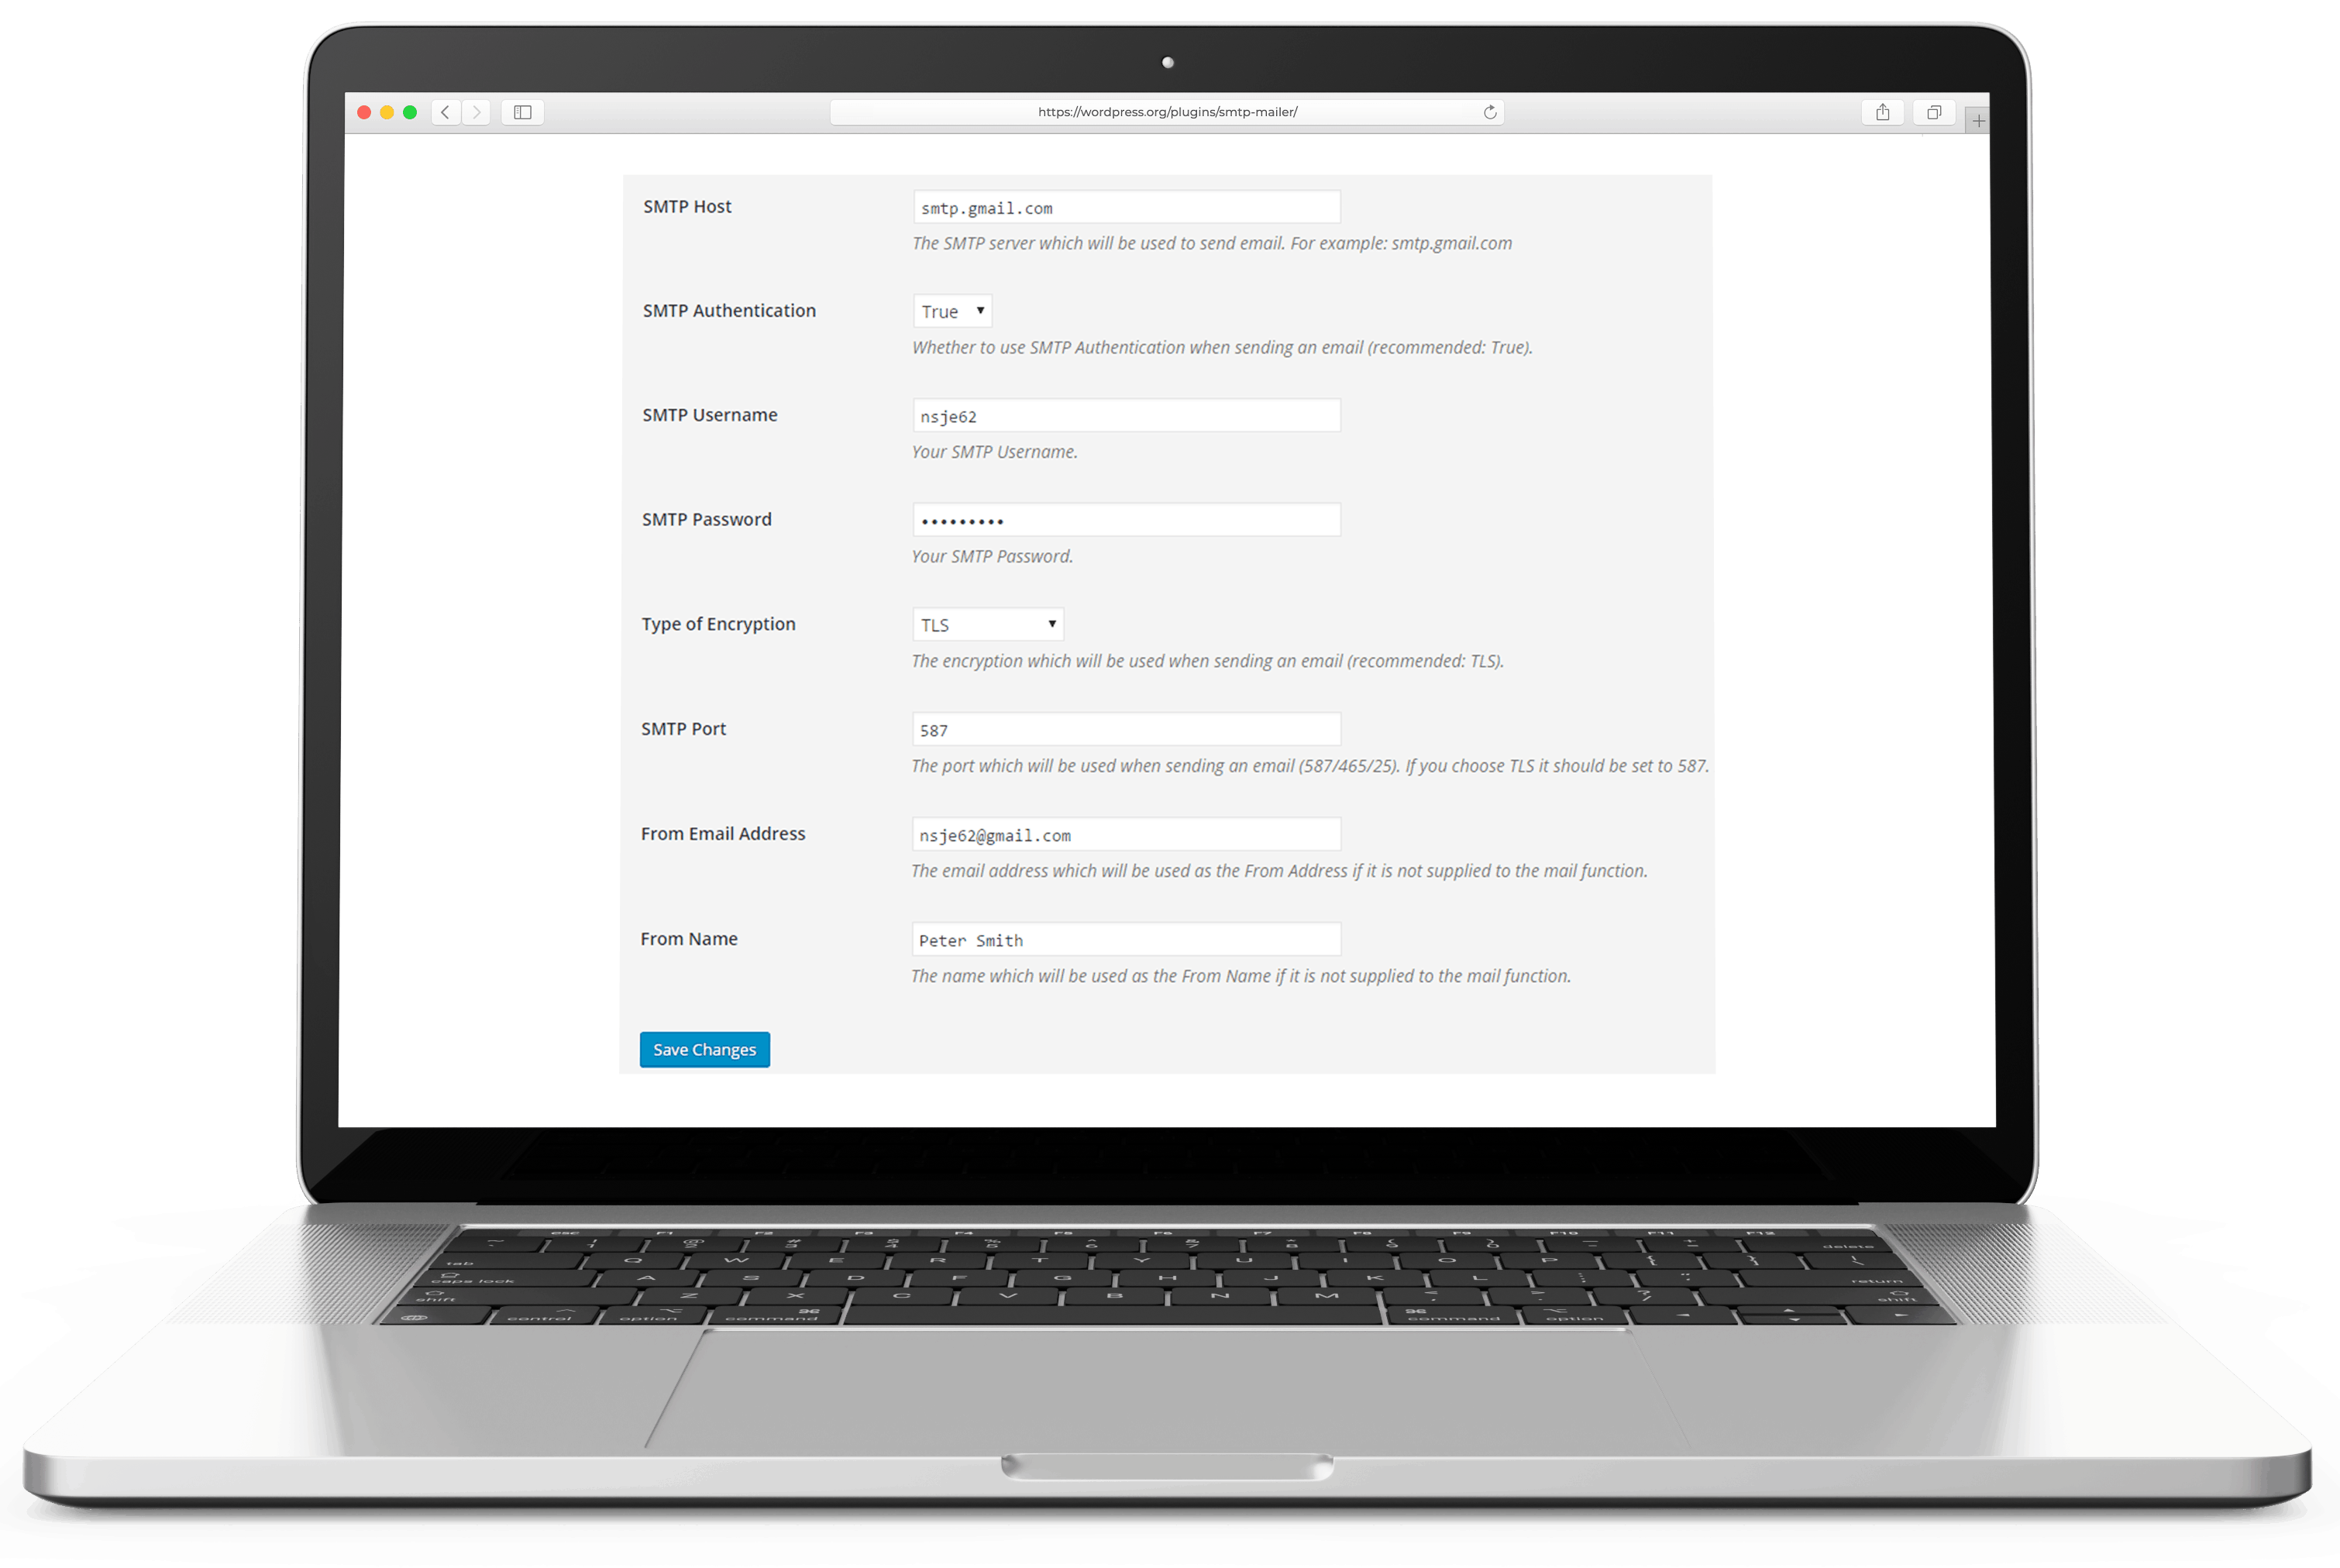
Configuring Post SMTP Mailer
To configure the Post SMTP Mailer plugin with any SMTP server, follow the instructions provided in the original article. The plugin’s powerful configuration wizard and automated test tool make it easy to avoid misconfigurations and suggest the best settings for your SMTP server. Standout settings available in the plugin include custom reply-to address, custom Cc and Bcc values, support for custom headers, and fallback SMTP service configuration.
Customer Support and Resources:
- For the free version, visit the
 plugin’s support page on wordpress.org
 - For the Pro Extensions, visit the
 creator’s support page which offers support via email and documentation.
Conclusion
Post SMTP Mailer is a powerful and feature-rich mailer plugin for WordPress, offering seamless integration with various email services. It is highly recommended for small businesses, e-commerce sites, and bloggers seeking reliable email delivery and management. Share your experience with the plugin or ask any questions in the comments below.