
The standard WordPress contact form is four pieces of software stacked. A form plugin (Contact Form 7, WPForms, Gravity Forms) collects the submission. A mailer plugin (WP Mail SMTP, FluentSMTP) routes the resulting email. An SMTP provider accepts the SMTP session. DNS records (SPF and DKIM) authenticate the sender. Four moving parts to receive a “hello, can you build me a website” message.
The alternative is one piece of software. An HTML <form> element’s action attribute points at a third-party form handler (Formspree, Forminit, Basin, Formspark). The handler accepts the POST and delivers the submission as email to a configured inbox. Most also archive submissions in a dashboard and forward to webhooks or integrations. WordPress itself is uninvolved: nothing in the WordPress database, nothing in wp_mail(), no plugin to maintain.
Security is the recurring motivation for taking this path. Contact Form 7‘s  CVE history is the canonical example, but every form plugin sits on the same attack class: an admin-side configuration UI plus an unauthenticated public submission endpoint, both maintained by a third party on the WordPress release cadence. Removing the plugin removes that surface. This guide is the contact-form slice of WordPress without the plugin, nanoPost’s coverage of the patterns that work without the usual stack.
What this approach buys, and what it costs
No form plugin to maintain. Contact Form 7‘s CVE history is the canonical example of why some operators care about this; the broader point is that every form plugin is a privilege-escalation and unauthenticated-submission surface, and the without-plugin path removes it. No mailer plugin, and no SMTP credentials in the WordPress database. The contact form does not pass through wp_mail(), so SMTP misconfiguration cannot break it. No admin-side configuration UI for a non-developer collaborator to misuse: the form is HTML in a Custom HTML block, and editing it means editing the markup.
The costs are equally specific.
Spam handling is now the operator’s problem. A bare HTML form pointed at any public endpoint will receive bot submissions within hours of going live; most form plugins include a honeypot and a CAPTCHA option, and the without-plugin path includes neither by default. There is no on-site submission archive unless the handler provides one. Most handlers do, but free tiers typically limit retention to 30 or 60 days.
Integration depth is set by the handler, not the WordPress side. Adding Slack notifications, a Zapier path, or a Google Sheets archive after the fact may mean changing handlers and reissuing the endpoint URL (which means re-pasting the form markup on every page it appears).
A non-developer collaborator cannot edit fields, change copy, or change routing through an admin UI. Every change is a markup edit.
The form handlers worth using
Four handlers cover the category for most WordPress sites: Formspree, Forminit (formerly Getform), Basin, and Formspark.
For a low-volume contact form on a small WordPress site,  Formspree is the most defensible default. It is the most widely referenced service in the category and the one with the most complete documentation; Turnstile and reCAPTCHA support are well-documented. The hosted thank-you page is replaceable with a custom URL, and AJAX submission returning JSON (rather than a redirect) is documented. Check formspree.io/pricing for current limits; the page was temporarily unavailable at time of writing.
If the form needs to accept file uploads (CV submissions, image attachments on a support form, document drop-offs),  Forminit (formerly Getform) is the right call. File uploads are available on the free tier (50 MB storage) and all paid plans. The free tier covers 100 submissions per month; the Pro plan is $19/month billed annually. The integration list (Zapier, Slack, Google Sheets, direct webhooks) is the widest of the four.
If the operator wants deep integrations without file uploads,  Basin is an alternative worth comparing to Forminit. The free tier covers 50 submissions per month with 100 MB file storage included; paid entry is $12.50/month billed annually. Basin’s built-in spam classifier filters submissions before they reach the inbox; the webhook payload is less processed than Forminit’s, which matters for sites routing submissions into a custom CRM.
If the operator wants the simplest possible setup and is willing to pay once rather than on a subscription,  Formspark is the spartan choice. The model is a one-time payment per block of submissions: the current paid bundle is $25 for 50,000 submissions with no expiry (at time of writing, 50% off from $50; verify at formspark.io/pricing). The free tier provides 250 lifetime submissions. Anti-spam is reCAPTCHA-only, the dashboard is minimal, and there is no file-upload support.
Pricing in this category changes regularly. All figures were verified in June 2026.
| Handler | Free tier | Paid entry (ann.) | File uploads | Anti-spam built-in | Integration ceiling |
|---|---|---|---|---|---|
| Formspree | see formspree.io/pricing | see formspree.io | see formspree.io | Honeypot, reCAPTCHA, Turnstile | Webhooks, Zapier, custom templates (paid) |
| Forminit | 100 submissions / month (50 MB) | $19 / month | All plans | Honeypot | Zapier, Slack, Sheets, webhooks |
| Basin | 50 submissions / month (100 MB) | $12.50 / month | All plans | Honeypot, classifier | Zapier, Slack, Sheets, webhooks |
| Formspark | 250 lifetime submissions | $25 one-time | No | Honeypot, reCAPTCHA | Zapier, webhooks |
The previous edition of this guide (May 2023) listed MailThis.to and  FormBackend. MailThis.to was unreachable at the domain level at time of review and is excluded. FormBackend is still operating (50 submissions per month free, $5 per month paid entry, file uploads on paid plans) and suits the same spartan-with-a-lower-price-floor niche as Formspark.
Building the form
The markup is plain semantic HTML. Replace the placeholder endpoint URL with the one issued by the chosen handler:
<form action="https://formspree.io/f/your-endpoint-id" method="POST">
  <label for="cf-name">Name</label>
  <input id="cf-name" type="text" name="name" required>

<label for="cf-email">Email</label>
  <input id="cf-email" type="email" name="email" required>

<label for="cf-message">Message</label>
  <textarea id="cf-message" name="message" rows="6" required></textarea>

<button type="submit">Send</button>
</form>
Three points on the markup that matter in practice. The required attribute on each input enforces client-side validation before the form will submit. Each label is associated to its input via for/id, which matters for screen readers and for click targets. The email field is named email in this example; several handlers support a special field name that sets the Reply-To header on the notification email so that replying from the inbox goes directly to the visitor (Formspree and Basin both document _replyto for this purpose). Check the chosen handler’s documentation for the correct field name before deploying.
To embed the form in a page or post:
- Open the post or page in the block editor.
- Click the
+to add a new block and choose Custom HTML. - Paste the form markup. Replace the placeholder endpoint URL.
- Click Update or Publish.
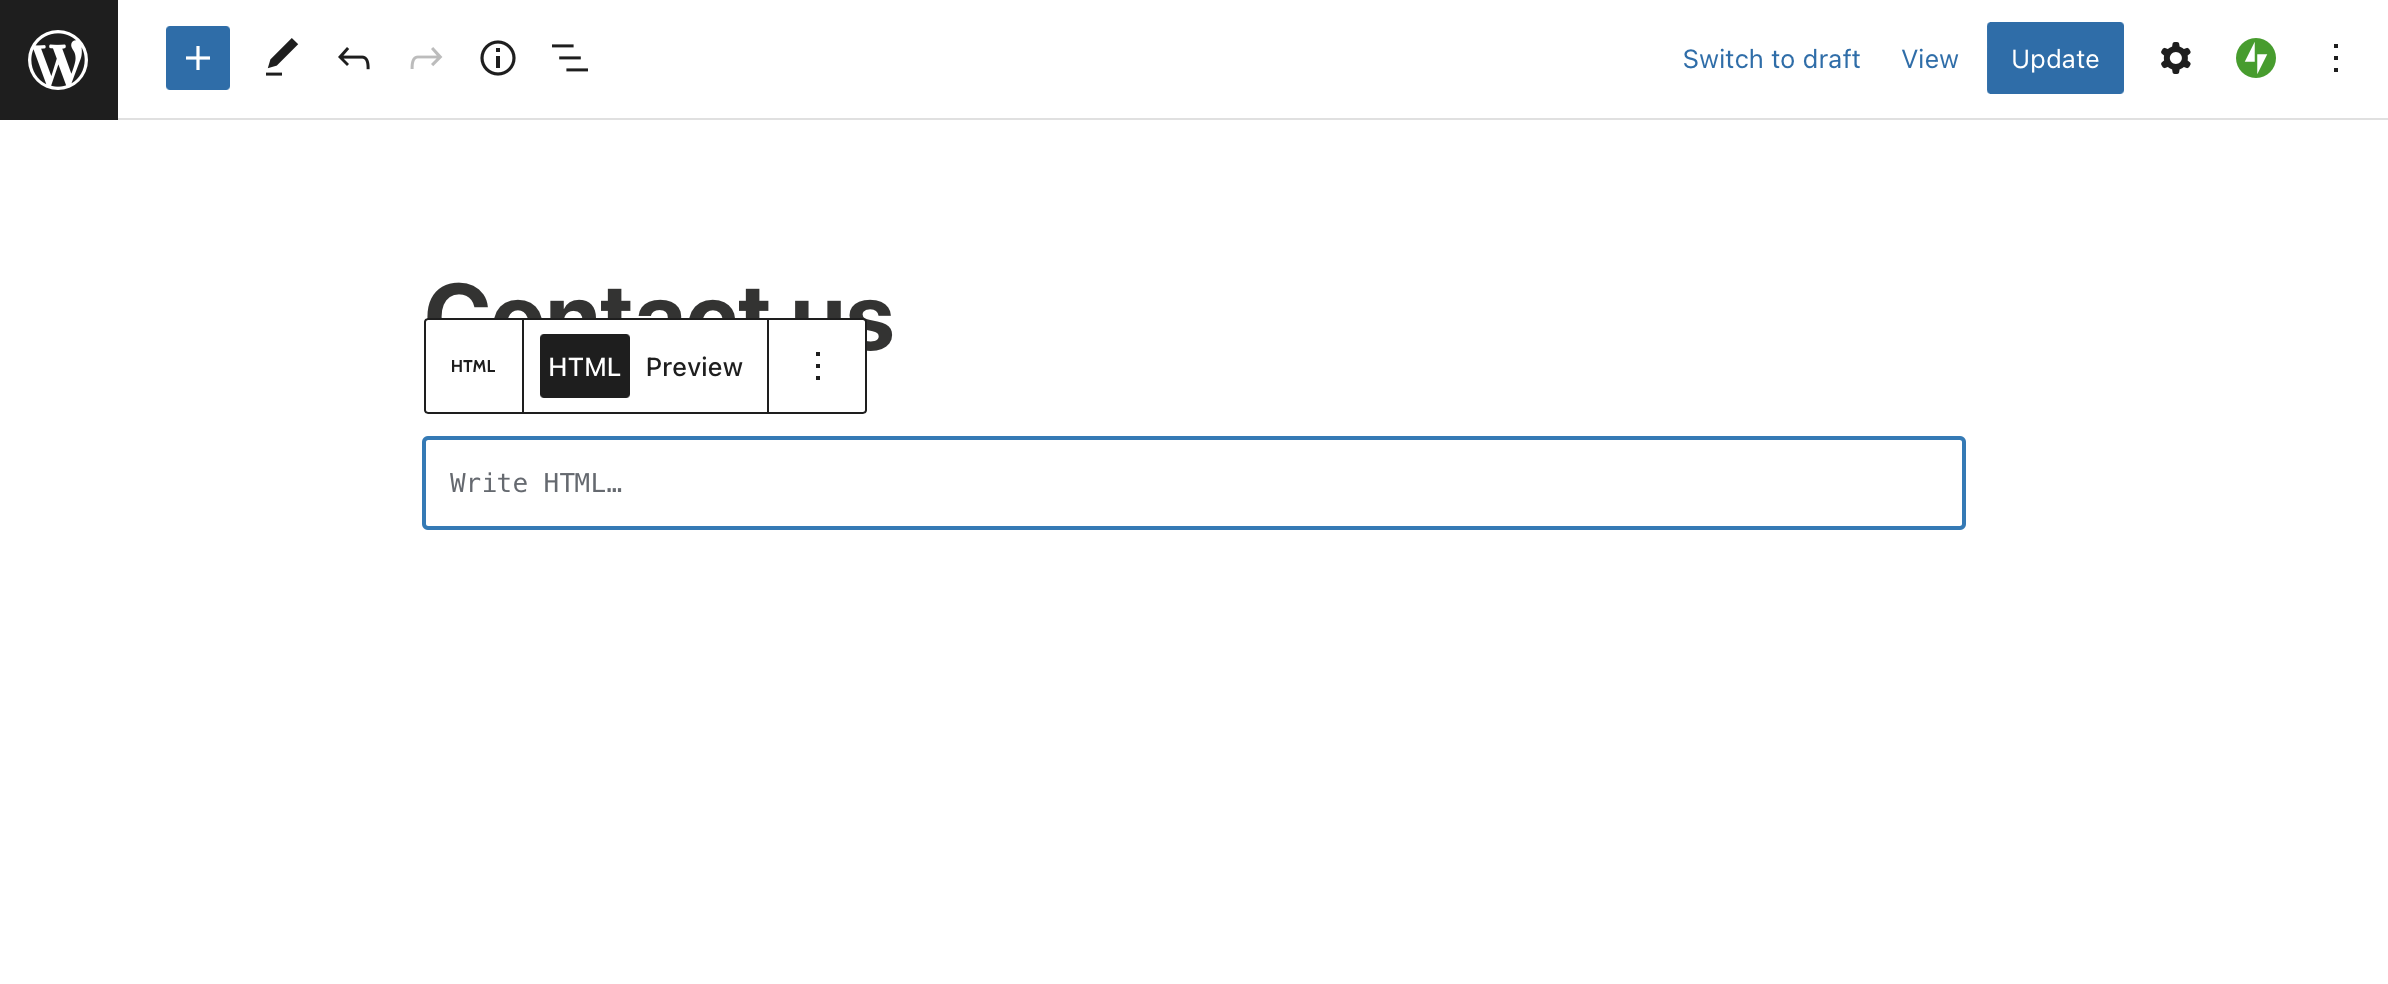
Image credit: FormBackend.
The Custom HTML block renders its contents verbatim. It does not strip scripts and it does not strip forms. The one practical gotcha is that the block-editor parser is brittle around malformed markup: close every tag, do not embed unescaped < inside attribute values, and avoid nesting block-level elements inside <label>.
Spam handling
The first line of defence is a honeypot field: a hidden input whose human users never see and whose name is plausible enough that bots reliably fill it in. The most common convention is _gotcha, which Formspree, Basin, and Forminit all use as the default honeypot field name. The markup:
<input type="text" name="_gotcha" tabindex="-1" autocomplete="off" style="position:absolute;left:-9999px;">The tabindex="-1" keeps the field out of the keyboard tab order. The autocomplete="off" keeps password managers from filling it. The off-screen positioning hides it from sighted users. Confirm the correct field name in the chosen handler’s documentation: _gotcha is the de facto standard across the handlers listed here, but conventions vary.
Honeypot alone is not enough at any meaningful traffic level. The remaining options:
 Cloudflare Turnstile. A drop-in CAPTCHA replacement that is invisible to most users and free under Cloudflare’s current pricing. Add
 <div class="cf-turnstile" data-sitekey="YOUR_SITE_KEY"></div> to the form and include the Turnstile loader script in the page. When the form is submitted, Turnstile automatically adds a hidden field named cf-turnstile-response containing the verification token. Formspree and Basin document Turnstile validation in their spam-protection docs.
reCAPTCHA v3. Still widely supported by handlers, but adds a Google script to every page that includes the form. Increasingly user-hostile and increasingly avoided.
Handler-side timing heuristics. Several handlers reject submissions that arrive within a few seconds of page load. This runs automatically once enabled in the handler dashboard.
Honeypot markup is always worth adding; enable Turnstile for any form that gets meaningful traffic.
In-page success state without a redirect
The default behaviour of every listed handler is to redirect to a hosted thank-you page after a successful submission. The standard pattern for avoiding that redirect is to send the form with fetch and include an Accept: application/json header; handlers that support JSON responses will return a JSON body instead of redirecting. Formspree documents this pattern in its JavaScript submission guide; verify your chosen handler’s documentation for equivalent support.
<form id="cf" action="https://formspree.io/f/your-endpoint-id" method="POST">
  <!-- name, email, message fields -->
  <!-- honeypot input -->
  <!-- Cloudflare Turnstile div, if enabled -->
</form>
<p id="cf-success" hidden>Your message was received. Someone will be in touch shortly.</p>
<p id="cf-error" hidden>Something went wrong. Please try again or email [email protected] directly.</p>

<script>
document.getElementById('cf').addEventListener('submit', async function (e) {
  e.preventDefault();
  const form = e.target;
  const data = new FormData(form);
  try {
    const res = await fetch(form.action, {
      method: 'POST',
      body: data,
      headers: { 'Accept': 'application/json' }
    });
    if (res.ok) {
      form.hidden = true;
      document.getElementById('cf-success').hidden = false;
    } else {
      document.getElementById('cf-error').hidden = false;
    }
  } catch (_) {
    document.getElementById('cf-error').hidden = false;
  }
});
</script>
The FormData object picks up every named field in the form (including the honeypot input and the Turnstile cf-turnstile-response token if Turnstile is enabled), so the fetch pattern works unchanged with spam defences in place.
The script and the form markup both go in the same Custom HTML block. The hidden attribute is HTML’s native “not displayed” toggle; no CSS is required for the show/hide to work, though most sites will want to style the success and error messages.
What this does not fix
The without-plugin path handles incoming contact form submissions. It does not handle the other email WordPress sends.
WordPress itself sends mail for its own reasons: password reset emails, new-user notifications, comment moderation alerts, automatic update notices. WooCommerce sends order confirmations, shipping notifications, refund receipts. Membership and LMS plugins send course progress emails and subscription renewal reminders. All of that mail routes through wp_mail(), which routes through PHPMailer, which by default uses PHP’s mail() function and produces messages that most major inbox providers route to spam. If any of this email matters on the site, the standard SMTP setup is still required.
nanoPost covers the code-only SMTP path in How to set up WordPress SMTP without a plugin and the plugin-based path in the mailer plugin entries. Either covers WordPress system mail; the form handler covers the contact form. The two responsibilities are separate and the two configurations are independent.
When system mail is failing for unrelated reasons, Troubleshoot WordPress email walks the standard checks.
Privacy and the data processor
Form submissions go to a third party. Three things to verify before deploying.
The handler is a data processor under most privacy regimes. If the site operates under GDPR, UK GDPR, CCPA, or a comparable regime, the operator needs a data processing agreement with the handler. Formspree, Forminit, Basin, and Formspark all publish a DPA on request or by default; check the handler’s privacy and terms pages before deploying.
Collect only the fields the form actually needs. A contact form rarely needs more than name, email, and message. Phone, company, and address fields are added by reflex on most form templates and rarely earn their inclusion; every field collected is a field that has to appear in the site’s privacy notice.
Disclosure of the processor goes near the form, not buried in a privacy policy footer. A single line under the submit button naming the processor and linking to their privacy policy meets the minimum disclosure standard most operators need; a lawyer should confirm jurisdiction-specific requirements.