Mailhawk as a WordPress SMTP server

Introduction
![]() MailHawk is a service provider that offers a unique email solution for WordPress site owners, enabling both transactional and marketing email services.
MailHawk is a service provider that offers a unique email solution for WordPress site owners, enabling both transactional and marketing email services.
The company behind the service appears to be related to a number of slick WordPress brands, including ![]() Groundhogg,
Groundhogg, ![]() HollerBox, and
HollerBox, and ![]() FormLift, among others.
FormLift, among others.
It appears that MailHawk was originally set up to easily power their WordPress-based Groundhogg CRM service/plugin, but it can, in fact, be used for all types of WordPress email, including ![]() transactional and marketing emails.
transactional and marketing emails.
Overview
MailHawk offers a distinctive service by combining the functionality of an SMTP server/service with a dedicated WordPress plugin that work together seamlessly with minimal setup fuss. This approach simplifies the email setup process for WordPress site owners and developers, making it nearly foolproof. To the best of our knowledge, MailHawk is the one of the few services providing such an integrated solution.
In a sense, it would be incorrect to call Mailhawk an SMTP service, as connecting to it can only be done via its API, and not via a standard SMTP interface. On the other hand, the service does send out emails from WordPress sites via SMTP, so in that sense it isn’t a misnomer.
Unique features of MailHawk
- Dedicated mailer plugin: The aspect that sets MailHawk apart from its competitors is its dedicated WordPress
 Mailhawk mailer plugin. This plugin can only connect to the MailHawk service, which makes it much faster to set up than standard SMTP mailer plugins.
 - Tight integration between service and plugin: In fact, it’s hard to tell where the plugin ends and the service begins as they are so tightly integrated. For example, the plugin supports domain configuration support right within the plugin.
- Affordable pricing: Very affordable pricing with a near-free plan.
Pricing and plans
MailHawk offers a range of pricing plans to suit different needs:
- Basic – $1/mo or $10/yr: Suitable for small WordPress blogs, includes 1,000 emails/mo, support for 1 site, and ticket support. We consider this to be a near-free plan and are therefore including the service in our listing of
 Free SMTP services for WordPress.
 - Plus – $15/mo or $12.50/mo billed annually: Designed for those just getting started, includes 30,000 emails/mo, support for up to 3 sites, email log, analytics, blacklist management, and ticket support.
- Pro – $30/mo or $25/mo billed annually: Ideal for fast-growing businesses, includes 60,000 emails/mo, support for up to 5 sites, email log, analytics, blacklist management, and ticket & chat support.
- Agency – $90/mo or $75/mo billed annually: Perfect for agencies, ncludes 375,000 emails/mo, support for up to 25 sites, email log, analytics, blacklist management, and ticket & chat support.
Registering for MailHawk
Signing up for MailHawk is a hassle-free experience. The process involves entering your personal details, selecting a unique username and password, and providing credit card information for billing purposes. After completing the registration, you’ll be directed to the account management screen. Here, you’ll find various settings focused on account and subscription management, rather than any email-operational aspects.
Setting up the service and plugin
1. Install the MailHawk plugin
Begin by installing the MailHawk plugin from within your WordPress dashboard, just like any other plugin.
2. Connect the plugin to your account
After installing the plugin, a new administrative message will appear prompting you to connect MailHawk to your account.
3. Authorize the site
If you remained logged in on the mailhawk.io site after the registration process, the next screen will recognize you and prompt you to authorize the site you’re running from.
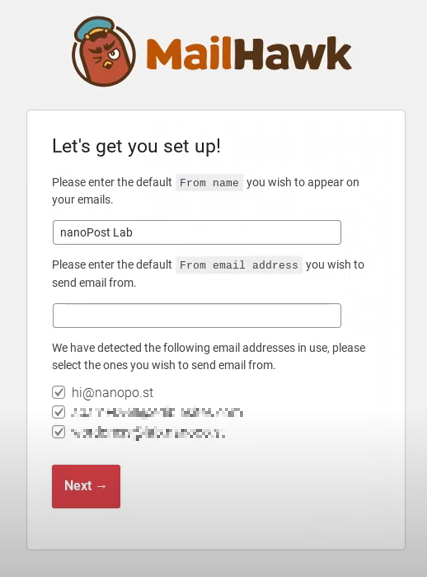
4. Configure the “From” name and email
Set up the “From” name and email address for your outgoing messages. The plugin identifies the email addresses of all users on the site and allows you to add them as allowed senders.
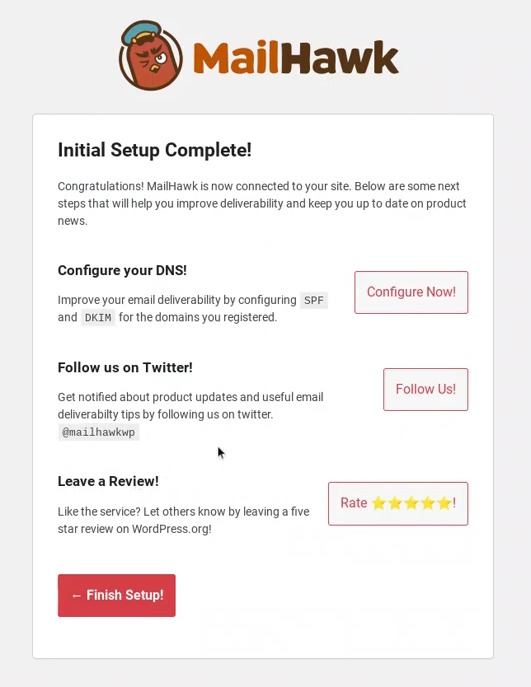
5. Configure DNS settings
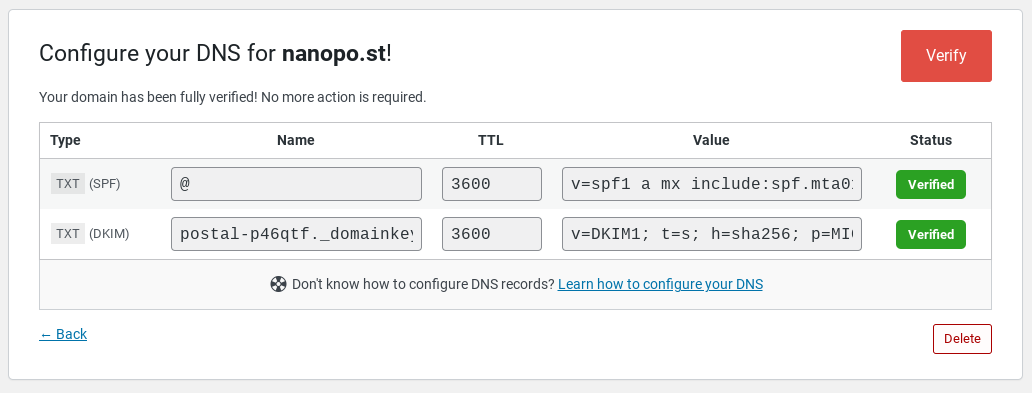
The following screen will prompt you to configure your domain’s DNS settings. Click “Configure Now” to access a screen displaying the necessary DNS settings to set up your domain.
The MailHawk plugin provides you with the SPF and DKIM values you need to set up with your domain registrar’s DNS settings. It’s a copy & paste job from here.
6. Update your DNS records
At this stage, you will need to access your DNS server to set up an SPF and a DKIM record. The MailHawk ![]() instructions do a good job walking you through the process. We provide some background to this
instructions do a good job walking you through the process. We provide some background to this ![]() here.
here.
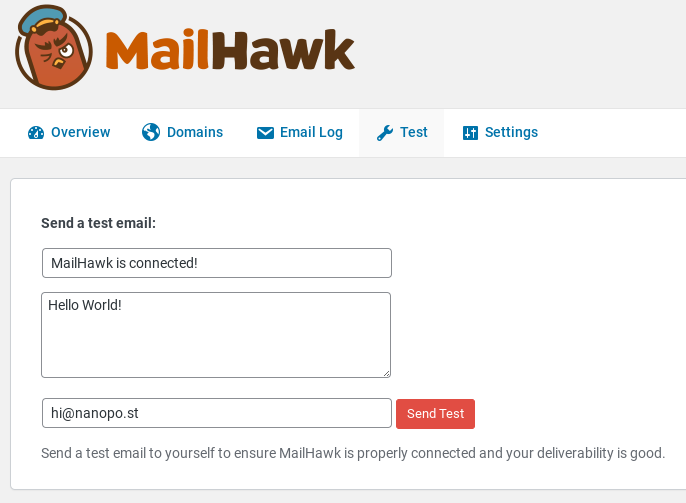
7. Test email functionality
Utilize the “test” facility within the plugin to send a test email to yourself, ensuring that everything is set up correctly.
8. Access the Email Log
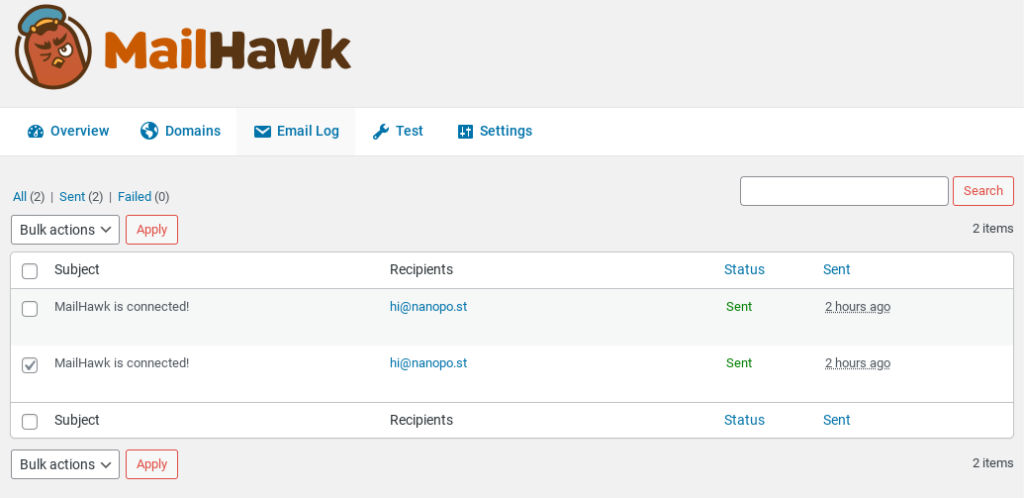
You can view your test email in the Email Log, which lists all outgoing emails from your site.
Using MailHawk with WordPress
From this point on, MailHawk should hum away in the background, transparently sending any email your WordPress site generates. Given MailHawk’s support for Groundhogg email campaigns and marketing automation, we can assume that they’re happy for both transactional and promotional emails to be sent through their service.
Customer support and resources
MailHawk offers various customer support options:
- Ticket support for their Basic and Plus tier clients
- Ticket and chat support for their Pro and Agency clients
Conclusion
MailHawk presents a unique email solution for WordPress site owners by offering a tightly integrated service and plugin, streamlining the email management process for transactional and marketing emails. Its affordable pricing and easy setup make it a suitable option for a wide range of users, from small blogs to agencies. With MailHawk handling your WordPress emails, you can focus on what truly matters: growing your online presence and engaging with your audience.


