WordPress contact form plugins send notification emails from the site’s address (or whatever address you configured as the sender), not from the person who submitted the form. A Reply-To: header overrides where replies go without changing the From: address.
First: workflow. A one-click reply goes to the contact, not back to your own inbox. Second: deliverability. Putting the submitter’s address in From: instead (the wrong fix for the same problem) breaks DMARC alignment: the From: domain no longer matches the sending infrastructure, and authenticated mail providers will reject or junk the message. Reply-To is the correct mechanism: the message is still sent from your authenticated domain, only the reply destination changes.
Contact Form 7
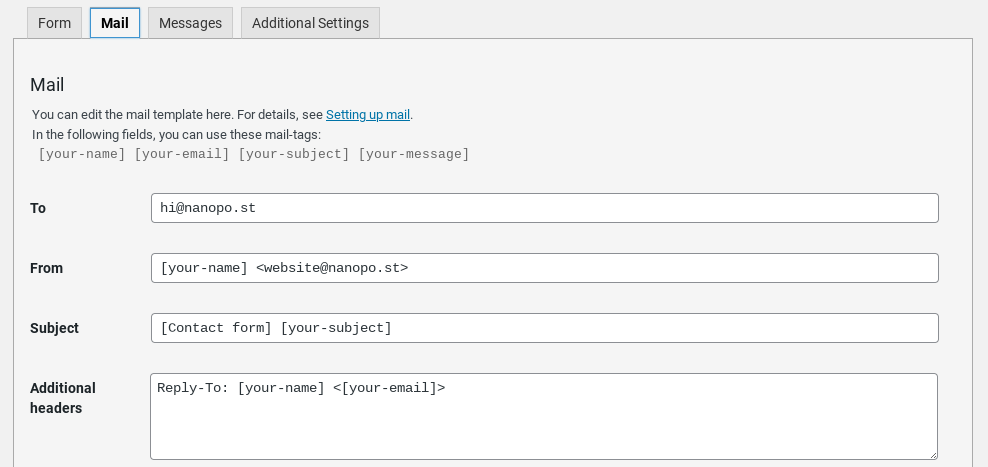
In the form’s Mail tab, add a line to Additional Headers:
Reply-To: [your-name] <[your-email]>[your-name] and [your-email] are CF7’s mail tags for the standard name and email fields. The tag names match whatever name you gave the field in the form editor (the name attribute, not the visible label). To check: open the form editor and look at the field’s shortcode, e.g. [email* email-address] → the tag is [email-address]. If your form uses different field names, substitute accordingly.
CF7 also accepts a bare email tag without the display name:
Reply-To: [your-email]Either form works. The name tag pre-populates the recipient with both name and address on reply.
For sending submissions to multiple addresses, see How to send Contact Form 7 submissions to multiple addresses. If notifications are not arriving at all, the issue is upstream; see Connect Contact Form 7 to Google Workspace Gmail.
WPForms
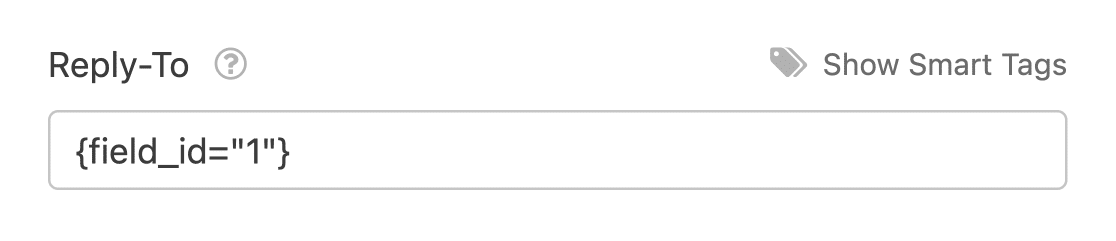
Settings → Notifications. In the notification block, set Reply-To Email Address to the form’s email field using a smart tag:
{field_id="N"}…where N is the numeric ID of the email field. The smart tag inserter button next to the field pulls this in automatically.
Ninja Forms
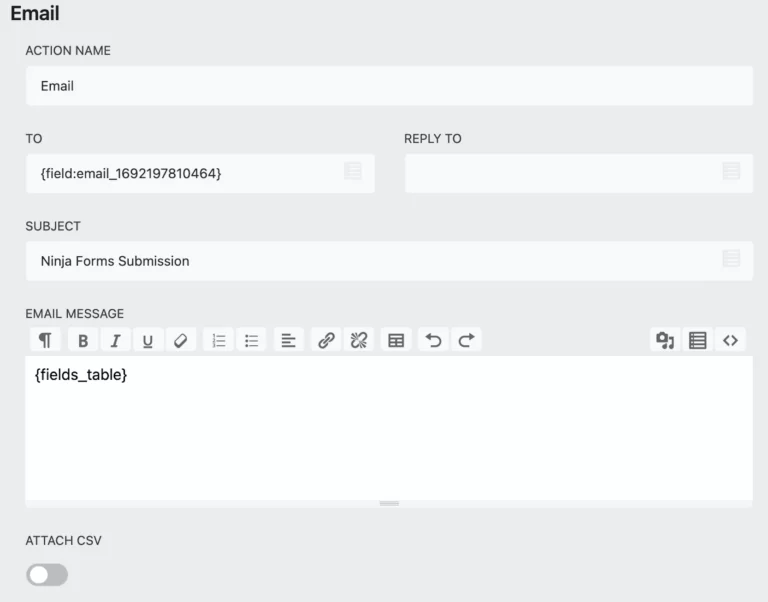
Open the form, go to Emails & Actions, and edit the existing email action (or add a new one). Set the reply address field to the merge tag for the submitter’s email; the merge-tag picker lists every form field. Save the action.
Other form plugins
For any plugin not listed above, the pattern is the same: find the email-action or notification settings, locate the Reply-To field (sometimes under "advanced" settings), and assign the form’s email-field tag. If the plugin only exposes a free-text "Additional Headers" field, add the line manually using whatever mail-tag syntax that plugin’s documentation specifies for the email field.
Every maintained form plugin has one, though the setting may be renamed (Response Email, Reply Address, Customer Email). When in doubt, check the plugin’s mail-headers documentation.
Edge cases worth knowing
From and Reply-To are different headers. From: is what the recipient’s mail client displays as the sender and what DMARC checks against. Reply-To: is only used when the recipient clicks Reply. Setting Reply-To has no effect on deliverability; setting From to the submitter’s address would.
Gmail may ignore Reply-To when the From address matches a "Send mail as" alias. If you receive form mail in a Gmail account that has your site domain configured as a send-as alias, Gmail may pre-populate the reply with your alias rather than the Reply-To value. This behaviour is not documented by Google but has been reported by users in this configuration. If it occurs, the relevant setting is in Gmail’s "Accounts and Import" settings, not in WordPress.
Multiple Reply-To addresses are valid. RFC 5322 allows a comma-separated list, and most form plugins accept it. The behavior in mail clients varies: some put every address in the To field on reply, others pick the first.
Reply-To does not affect Return-Path. Bounce notifications still go to the address your SMTP service uses for envelope-from, not to the Reply-To value.
Testing
Submit your own form from a different email address than the one receiving notifications. When the notification arrives, click Reply: the address auto-populated in the To field should be the address you submitted from, not your site’s. If it is not, check that the Reply-To field actually got saved (some plugins silently discard the value if the email field on the form is renamed or removed).