Create a WordPress contact form without plugins

If you’re reading this, chances are you’ve wrestled with the traditional route of setting up a contact form on a WordPress site. We’re talking about that time-consuming tango with plugins, SMTP services, DNS configurations, and a whole lot more. The notorious Contact Form Tango – it’s a dance many of us have stumbled through.
While these tools serve a purpose and often get the job done, let’s be frank: the process can feel a bit like a labyrinthine chore. It’s not just about choosing a contact form plugin and a mailer plugin. You’ve also got to set up an SMTP service, configure DNS settings like SPF and DKIM, and keep it all in harmony. And for something as seemingly simple as a contact form, it can feel like a bit much, right?
But what if we told you there’s another way? A simpler, more streamlined approach that doesn’t require a dance with a plugin orchestra. One that not only makes the process more straightforward but also opens up avenues for some pretty nifty features, like seamless integration with third-party services like Airtable and Mailchimp.
Sounds refreshing, doesn’t it? Stick around as we dive into the smoother seas of setting up a custom WordPress contact form, no plugins required.
Have a WordPress email problem right now? Ask us about it.
We’ll attempt to publish a solution ASAP for free. Challenge us!
Before we dive into the mechanics of creating a WordPress contact form without plugins, we want to be transparent about what this guide can and cannot offer. While we’re about to introduce you to a quick and easy method for creating your contact form, it’s important to remember that this approach is NOT a solution to all your website’s emailing needs, such as sending password reminder emails and site notifications.
Why Use a Third-Party Service for Form Handling
Now, you might be wondering, “If setting up a contact form with plugins is such a fuss, can’t I just whip up an HTML form and call it a day?” If only it were that simple! The issue is that while HTML can create a beautiful form, it doesn’t have a built-in way to handle form submissions – the part where the information entered by your user is packaged up and sent off to you.
That’s where third-party form handling services come in. They act like a diligent postman, picking up the form data and delivering it right to your inbox. These services provide the missing piece in our puzzle, giving us a dynamic way to handle form submissions without wrestling with the traditional plugin labyrinth.
How Does a Form Handling Service Work?
At this point, you might be curious about the magic behind these third-party form handling services. How exactly do they take the reins once the form is submitted?
Well, it’s simpler than you might think! When a user fills out your contact form and hits ‘Submit’, the data they entered is sent directly to your form handling service at the endpoint you specified in your HTML form. The service then takes this data and packages it into a neat and tidy email, which is sent directly to the email address you chose when you set up your account with the service.
Choosing a Form Handling Service
There are several great options out there when it comes to form handling services, each with its own strengths. Let’s take a look at three popular ones: FormBackend, Formspree, and Formspark.
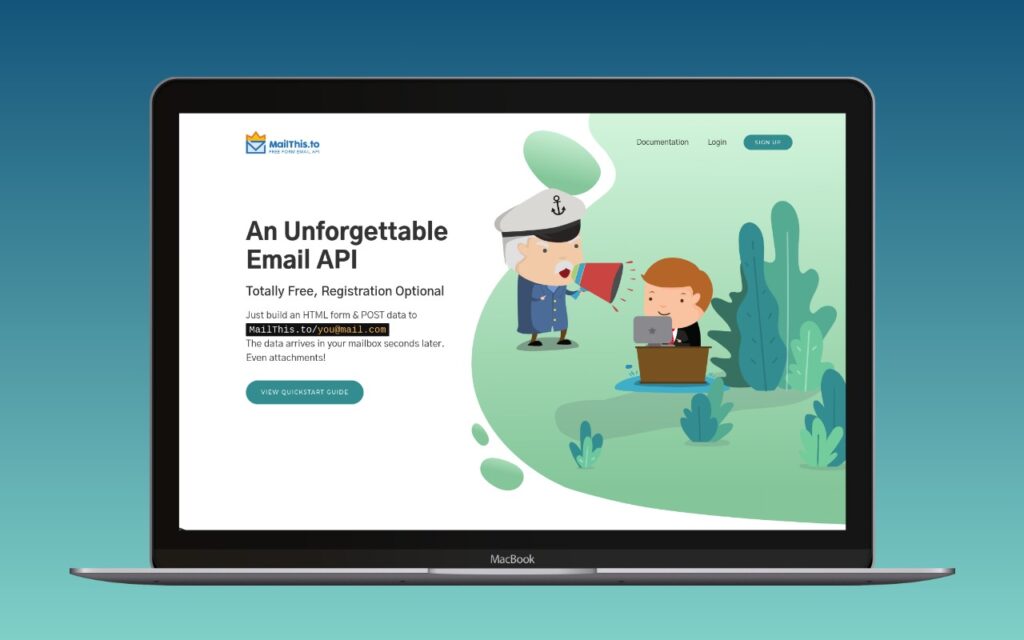
MailThis.to
![]() MailThis.to is an excellent option for form handling. It’s a service that focuses on simplicity and ease of use. With MailThis.to, you point your form to their endpoint, and it takes care of sending the form data to your email. The service is free to use up to 250 emails. Additional emails cost $5 per 1,000 emails.
MailThis.to is an excellent option for form handling. It’s a service that focuses on simplicity and ease of use. With MailThis.to, you point your form to their endpoint, and it takes care of sending the form data to your email. The service is free to use up to 250 emails. Additional emails cost $5 per 1,000 emails.
FormBackend
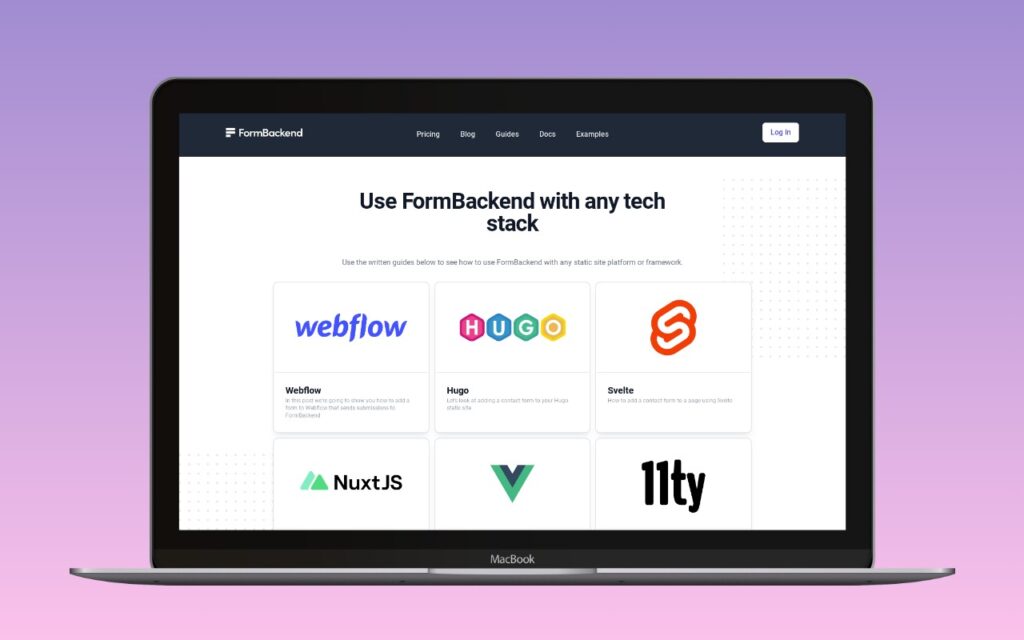
![]() FormBackend is all about simplicity. It handles form submissions without any server-side code, and all you need to do is point your form to their endpoint. Bonus: it can integrate with
FormBackend is all about simplicity. It handles form submissions without any server-side code, and all you need to do is point your form to their endpoint. Bonus: it can integrate with ![]() Zapier, the workflow integration service.
Zapier, the workflow integration service.
Getform
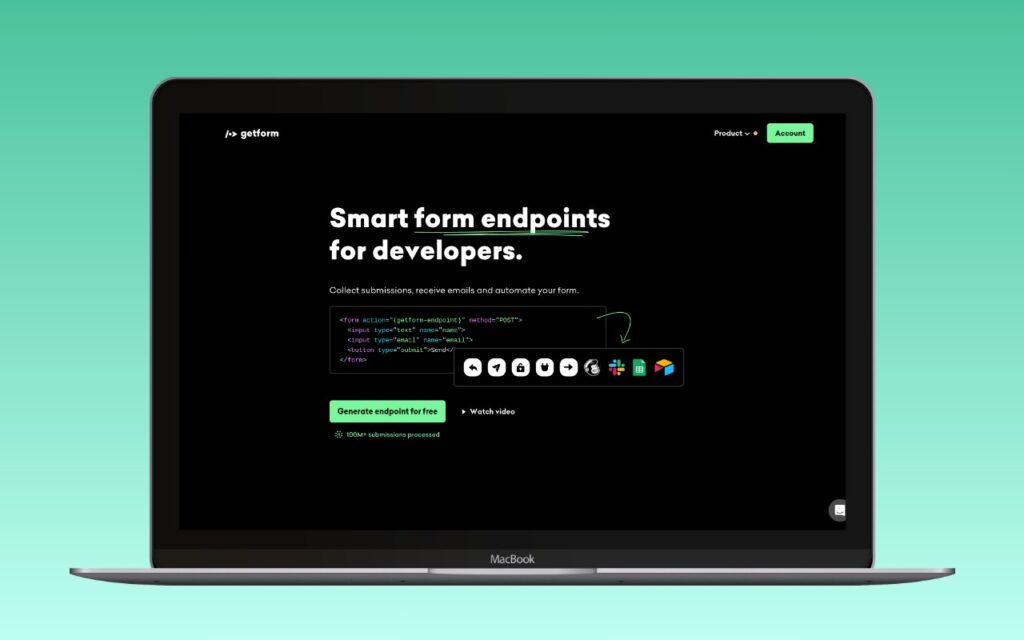
![]() Getform is another noteworthy contender in the arena of form handling services. It’s known for its flexibility and user-friendly interface. Like the others, Getform provides an endpoint for your form, collects submissions, and forwards them to your email. But Getform goes a step further, offering powerful integrations with popular tools like Zapier, Slack, Google Sheets, and more. This opens up a world of automation possibilities, allowing you to send your form data just about anywhere you need it. It also offers file upload support, which can be a game-changer if you need this functionality in your forms.
Getform is another noteworthy contender in the arena of form handling services. It’s known for its flexibility and user-friendly interface. Like the others, Getform provides an endpoint for your form, collects submissions, and forwards them to your email. But Getform goes a step further, offering powerful integrations with popular tools like Zapier, Slack, Google Sheets, and more. This opens up a world of automation possibilities, allowing you to send your form data just about anywhere you need it. It also offers file upload support, which can be a game-changer if you need this functionality in your forms.
Formspree
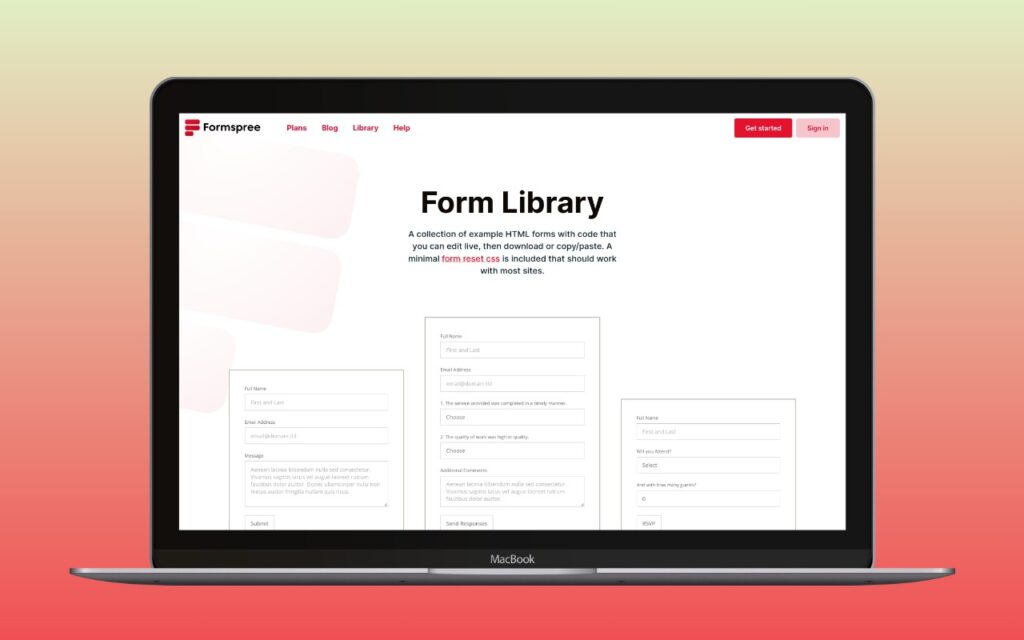
![]() Formspree offers a similar service. It also provides an endpoint for your form and sends submissions straight to your email. Its higher tier supports custom email templates, custom domains, and a rules engine.
Formspree offers a similar service. It also provides an endpoint for your form and sends submissions straight to your email. Its higher tier supports custom email templates, custom domains, and a rules engine.
Formspark
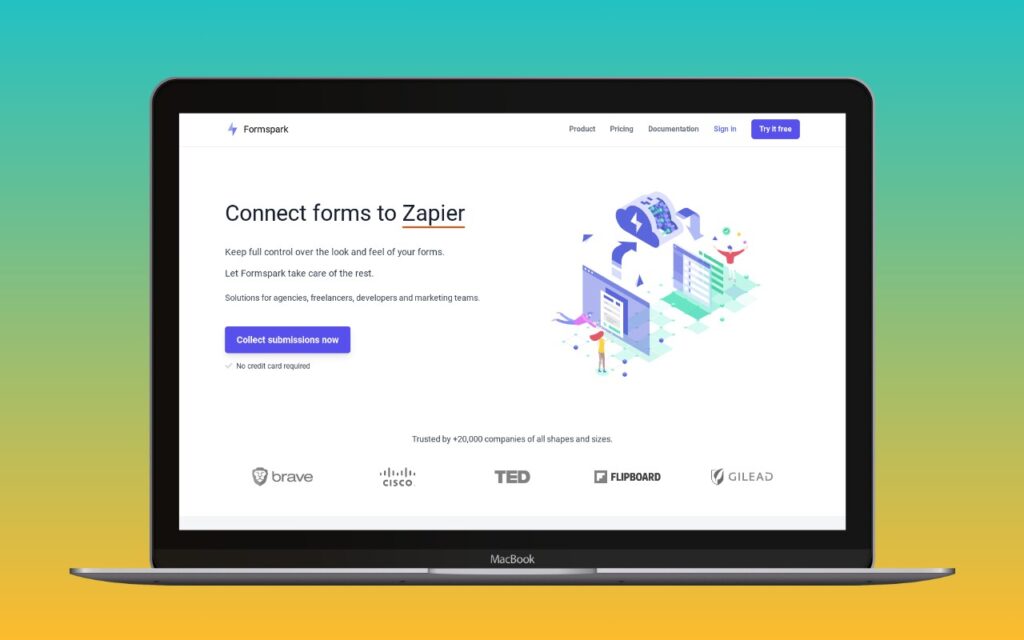
![]() Formspark also gives you a unique endpoint for your form and the form submissions are emailed to you. It offers integration with a wide range of third-party services, including
Formspark also gives you a unique endpoint for your form and the form submissions are emailed to you. It offers integration with a wide range of third-party services, including ![]() Slack. Plus, it offers analytics and spam protection.
Slack. Plus, it offers analytics and spam protection.
All three service offer a free tier, each with its respective level of generosity. Each of these services provides a simple solution to the form handling problem, but it’s worth considering their different features, pricing structures, and integrations to decide which one suits your needs best.
Steps to set up your form
1. Sign up for your chosen service
All right, you’ve chosen your champion – the form handling service that’s going to make your life easier. Now, it’s time to set up an account with them. Whichever service provider you choose, the process is typically similar and quite straightforward. You’ll need to sign up and create an account, just like you would with any other online service.
2. Grab your form HTML and your unique unique endpoint
Once you’ve got your account set up, it’s time to grab the HTML that your provider gives you, which will included your unique endpoint. This is the URL you’ll use in your HTML form to tell it where to send the form submissions. Think of it as the address your form data is going to be mailed to. You’ll typically find this in the settings or dashboard of your chosen form handling service.
The HTML will look something like the following:
<form action="https://your-endpoint.com" method="post">
  <label>
    Name
    <input type="text" name="name" required>
  </label>
  <label>
    Email
    <input type="email" name="email" required>
  </label>
  <label>
    Message
    <textarea name="message" required></textarea>
  </label>
  <button type="submit">Send</button>
</form>
In this code, you’ll replace https://your-endpoint.com with the endpoint you get from your chosen form handling service. This HTML code creates a simple contact form with fields for name, email, and a message – all the essentials for a contact form. The required attribute ensures that users fill out all fields before submitting the form.
3. Create the HTML form in WordPress
- Navigate to the page where you want to add the form and open the editor.
- Click on the “+” button to add a new block.
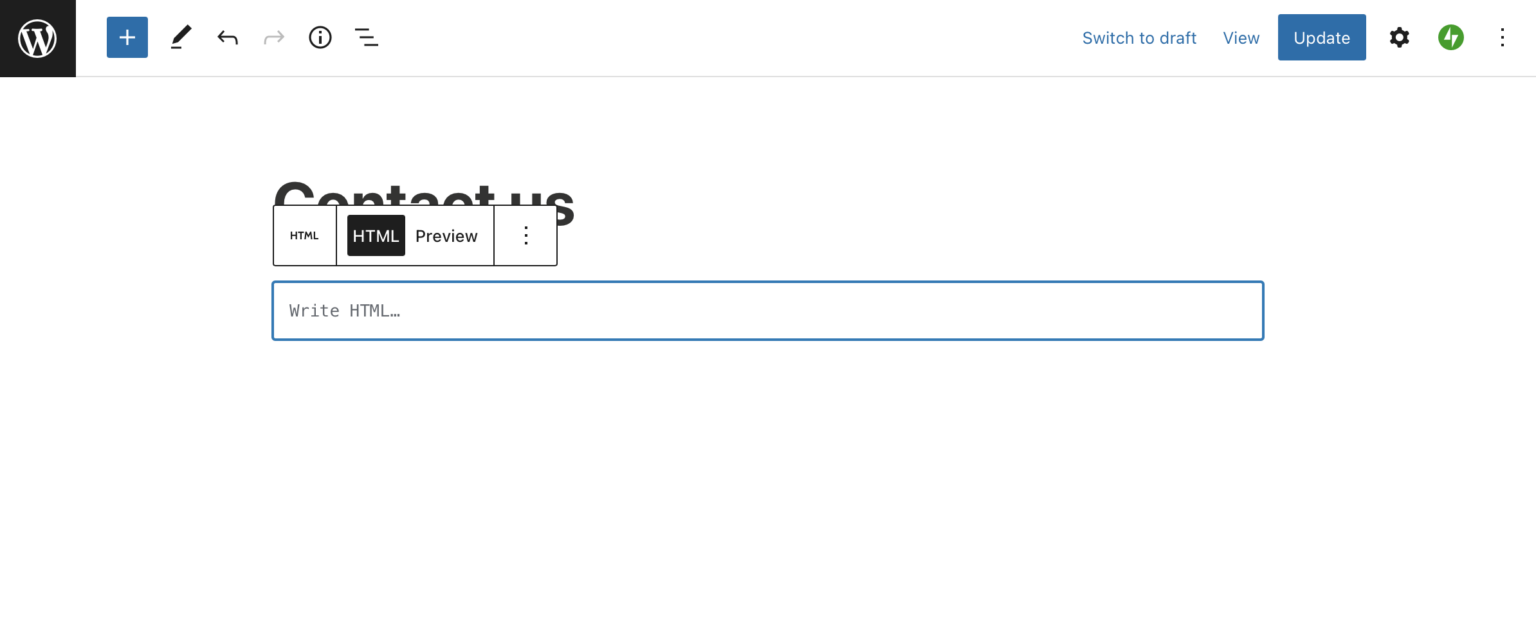
- Search for “HTML” in the block library and select the “Custom HTML” block.
- Paste your form HTML into this block.
- Click “Publish” to publish your page.
And voila! With a simple copy & paste of HTML and a third-party form handling service, you’ve created your own custom contact form without any plugins. But remember, this is a solution specifically tailored for your contact forms, not all forms on your site or all email interactions. Consider it as a part of your toolkit for a more efficient, simplified website management process.
Security and Privacy Considerations
While third-party form handling services can simplify our lives, it’s important to remember that we’re entrusting them with our users’ data. That’s why it’s crucial to choose a service that you trust, and one that takes security seriously.
Make sure to review their privacy policies and security measures. Most reputable services use secure data transmission methods and offer features like spam protection to help safeguard your data.
In addition, it’s important to be transparent with your users about how their data is handled. Consider adding a note near your form to inform users that their data will be processed by a third-party service, and provide a link to the service’s privacy policy if possible.
As a best practice, only collect the information you absolutely need, and ensure you’re complying with any relevant data protection laws or regulations in your region.
By taking these steps, you’re not just simplifying your contact form setup – you’re doing so in a way that respects and protects your users’ data.

